Advanced user interface features
If you select the option ‘Customize…’ a window will be displayed enabling
you to define the user interface settings in detail. It is possible to
change button names, to define different appearance of all window elements,
add new buttons, delete the existing ones, rearrange them, etc. Each change
will be saved and every time you start the program, it will load the last
version of the user interface. If you want to reset all the changes, select
the option ‘Restore default toolbars’ from the ‘View’ menu.
Here is an example of how to change the name and the appearance of the
‘Open Database’ button in the ‘Shortcuts’ bar:
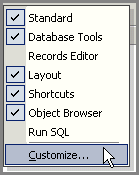
First select the ‘Customize’ option:

Once the ‘Customize’ window is displayed, you will be able to change
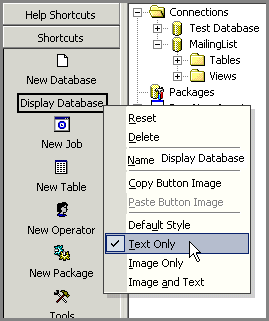
all the elements. Right-click on the ‘Open Database’ button and change
its name into ‘Display Database’. Click on the ‘Text Only’ option to display
only the name without the icon.

Now that you have changed the button appearance, let's change its location.
Left-click on the button, then drag and drop it in front of the ‘New’
button in the Standard toolbar. The result should be the same as in the
figure below:

You can move toolbars and other interface elements in the same way.
The figure below shows the ‘Shortcuts’ bar moved from the left to the
right side of the window. It is enough to click on the ‘Grab Handler’
of the ‘Shortcuts’ bar and drag it to where you want to dock the bar.
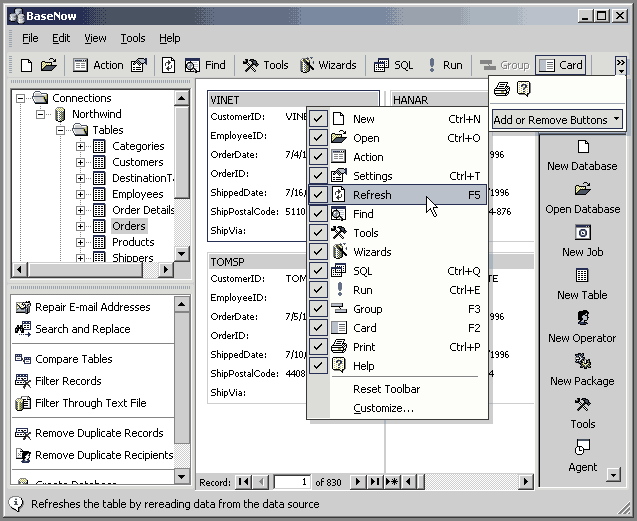
When you click on the downward arrow to the right of any toolbar and then
on ‘Add or Remove Buttons’, you will get a list of displayed buttons which
you can then activate or deactivate from the toolbar.

Related
Topics:
Customizing main window
About Shortcuts Bar
Object Browser overview
|